

You have been waiting for it! … Here it is!
The September app update contains the new, super-awesome feature – “Random Shot”. This has been the number one item in the “requests list” from our users. So I did my best to make it happen. I am very happy to announce, “It is alive!”
There are 2 options for Random Shot Mode: “Auto RND” and “Pro RND.” Let me describe each, one by one.
Auto Rnd
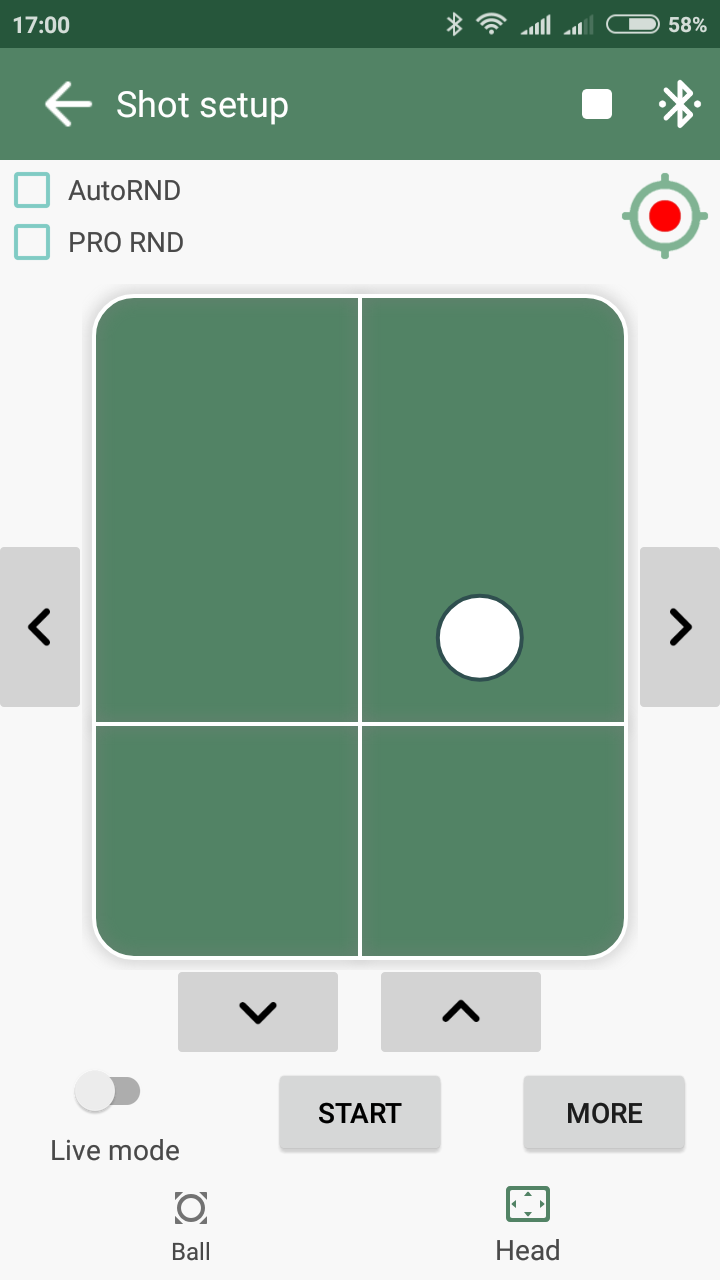
As you’ll recall, Tennirobo is able to make shots with very high accuracy. For some situations, such behavior is really convenient (e.g., if you are a beginner and want to train on a specific shot at a specific location over and over). In this case, all you need is one shot sent to a point on the table with constant spin and speed.
Before this update, if you wanted shots with deviations in position on the table (for example to “turn on” your footwork), you had to create a drill containing multiple shots sent to different locations on the table. “Do-able,” but not very convenient, not to mention ‘boring!’
Here is the exciting part: The new “Auto Random” mode is intended to remedy this in a BIG way!
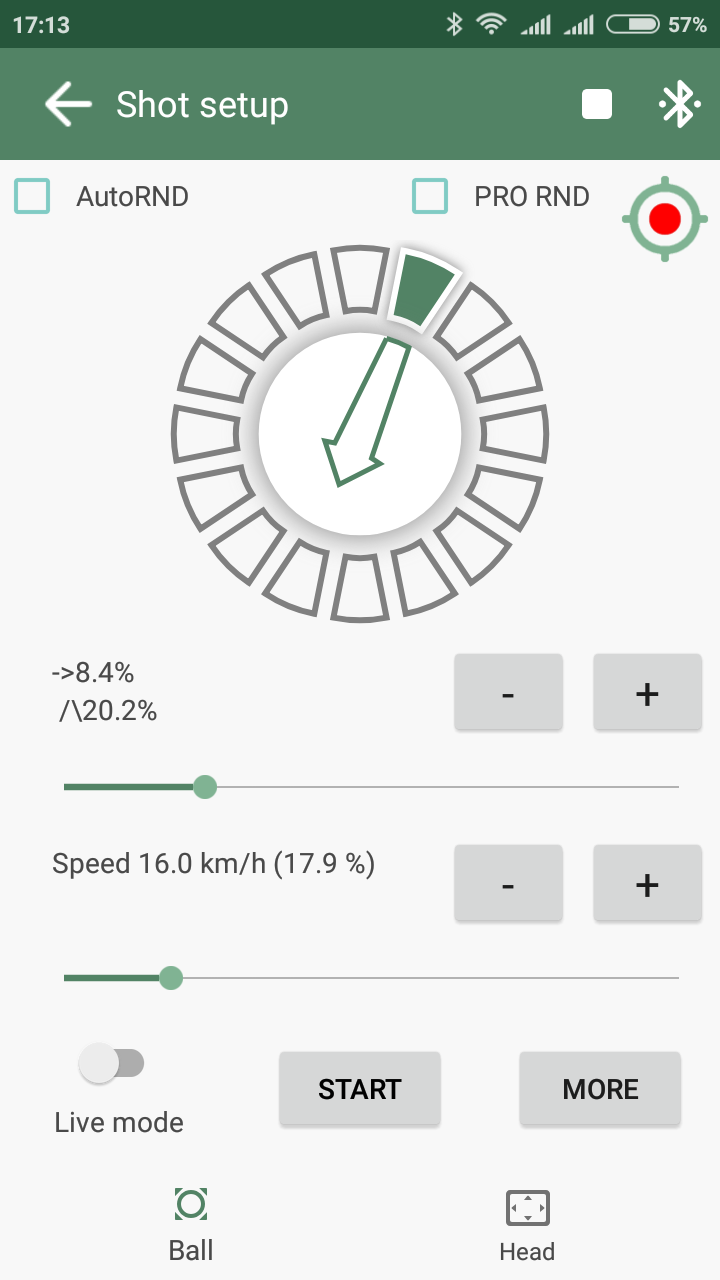
See the difference when the AutoRND box is checked.
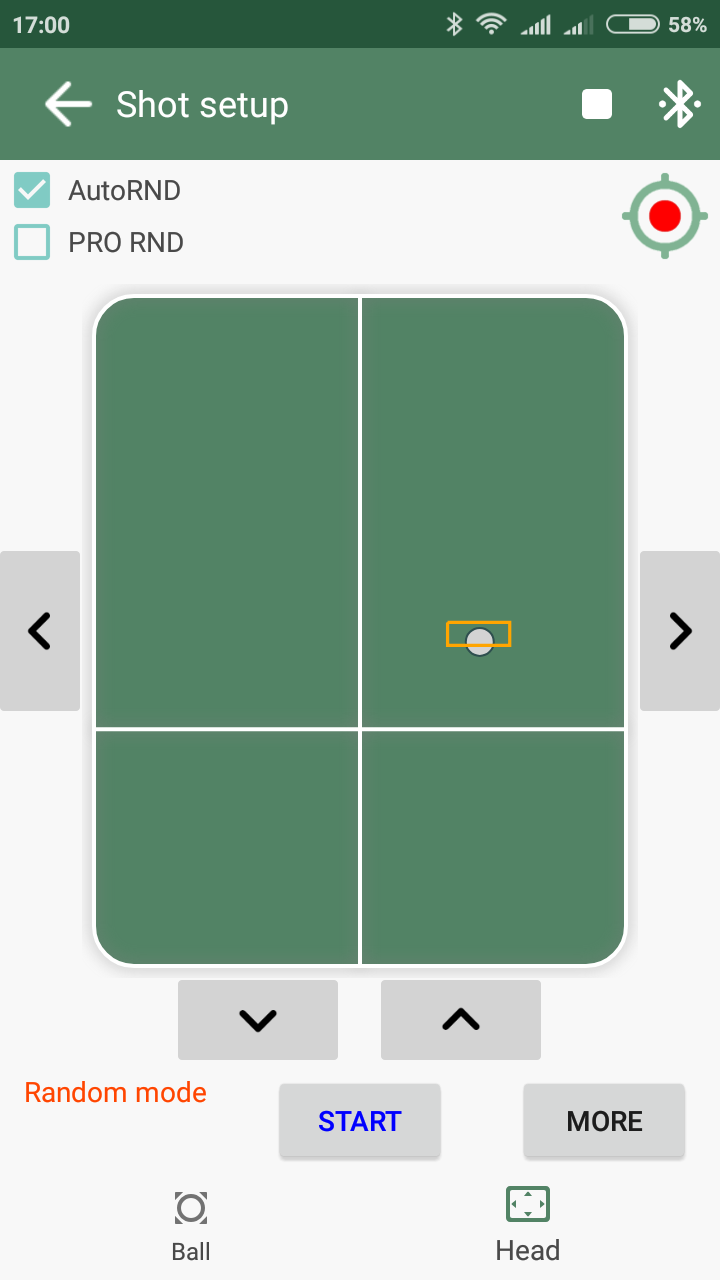
Once you activate the “AutoRnd” checkbox, an orange rectangle appears around the cursor. This rectangle shows the possible area for the Tennirobo’s head deviation in both vertical and horizontal directions, giving you a more realistic “human” experience of shot accuracy. Easy! But what if you want more? ProRND might be right for you …
Pro Rnd
If you need really customizable “random” shots, you can use this option.
Let’s begin with Tennirobo’s “random head deviation area”.
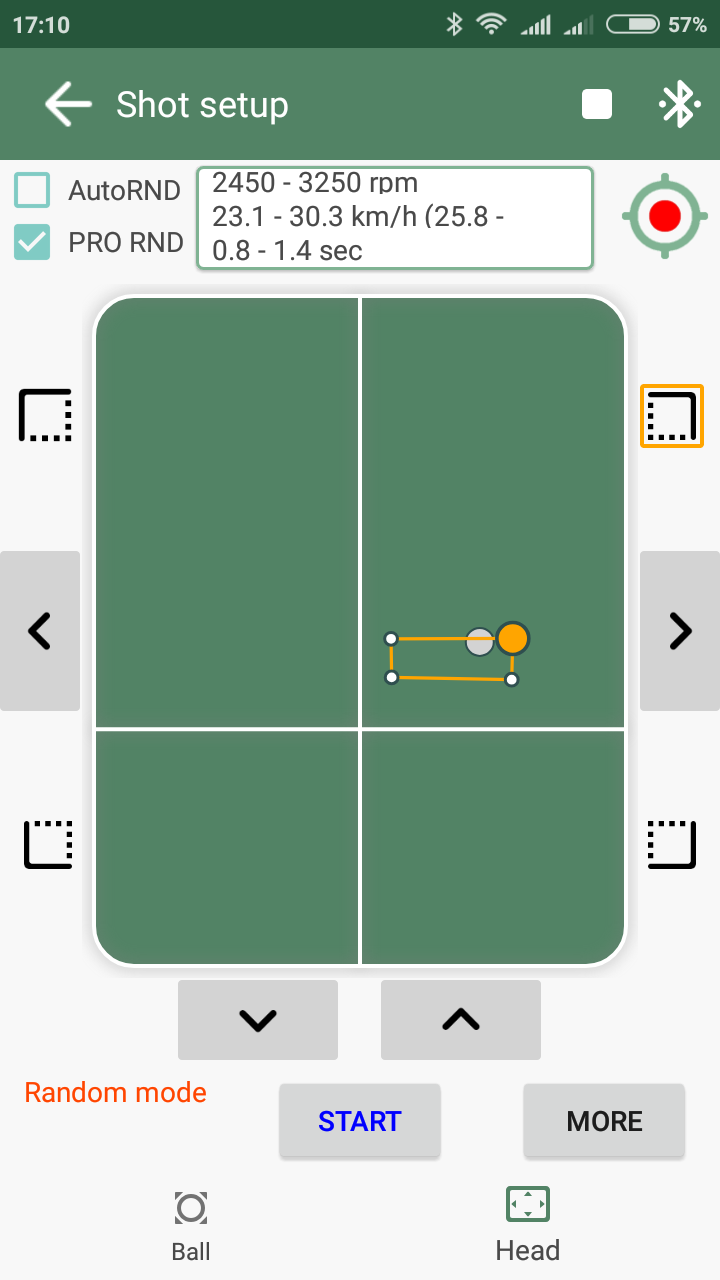
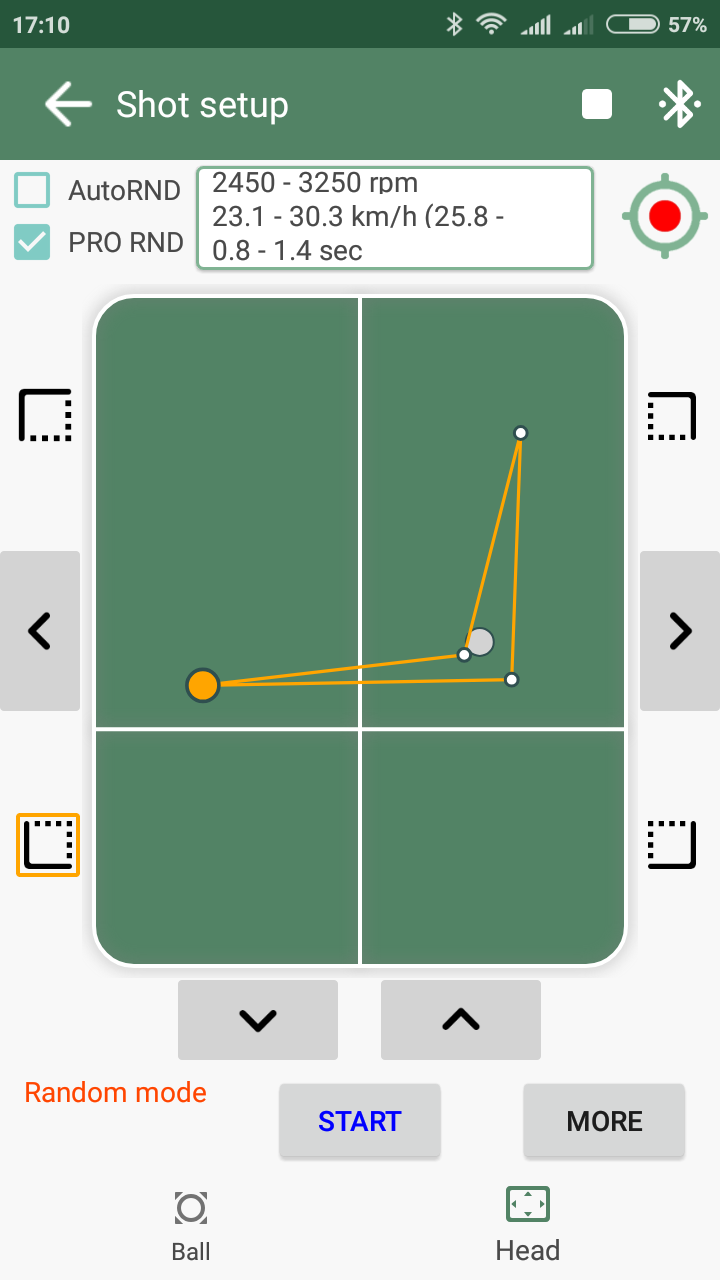
In PRO mode this area has four movable cursor corners. To select a corner you have to press the corresponding “Corner” button and then drag it to the desired location. Now you can use the “Sample shot” feature button to see where the shot will land on the table for this cursor’s corner. As a result, you are able to select ANY possible “zone” on the table.
But wait!!! There are a few additional features that make your training more productive! They allow you to set the minimum and maximum deviations of the following options:
- spin
- speed
- interval between shots
When you press the “Pro RND” checkbox above you will see the “PRO Random Parameters” button (marked below in red). This is cool, people. Click this button and you can change all these settings (spin, speed, and shot interval). Wow! Be careful. This can make Tennirobo unbeatable!
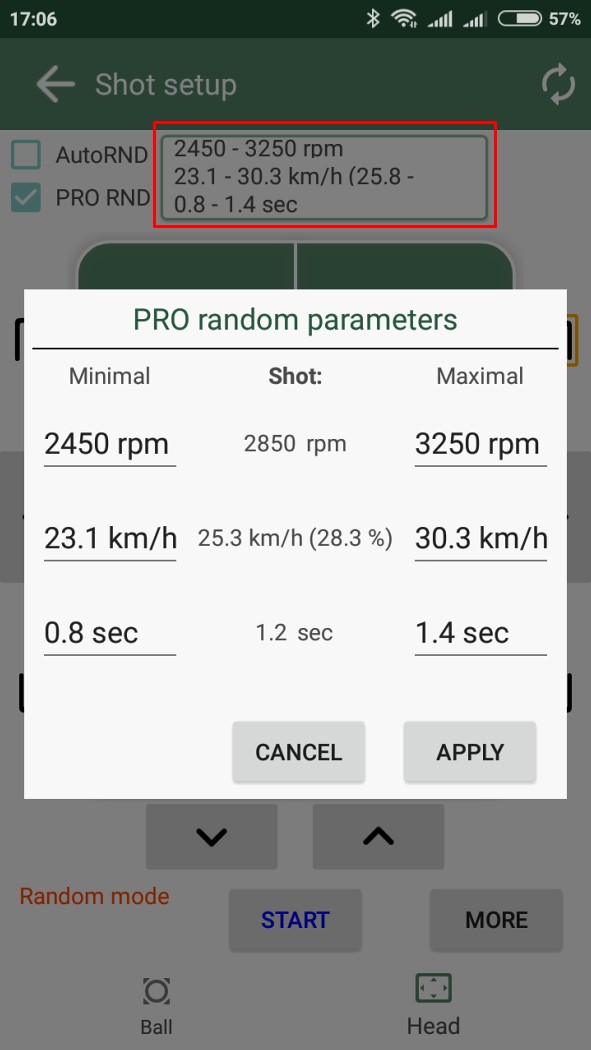
As you can see in the center column, the basic shot parameters are listed. To the left, you see the Minimal setting and to the right, you see the Maximum settings for each of Tennirobo’s options (spin, speed, and shot interval).
Of course, the good news is: I have made it easy for you to ‘save’ all of this. Just save the setting in your smartphone as usual! Simply use the “Save Shot” command.
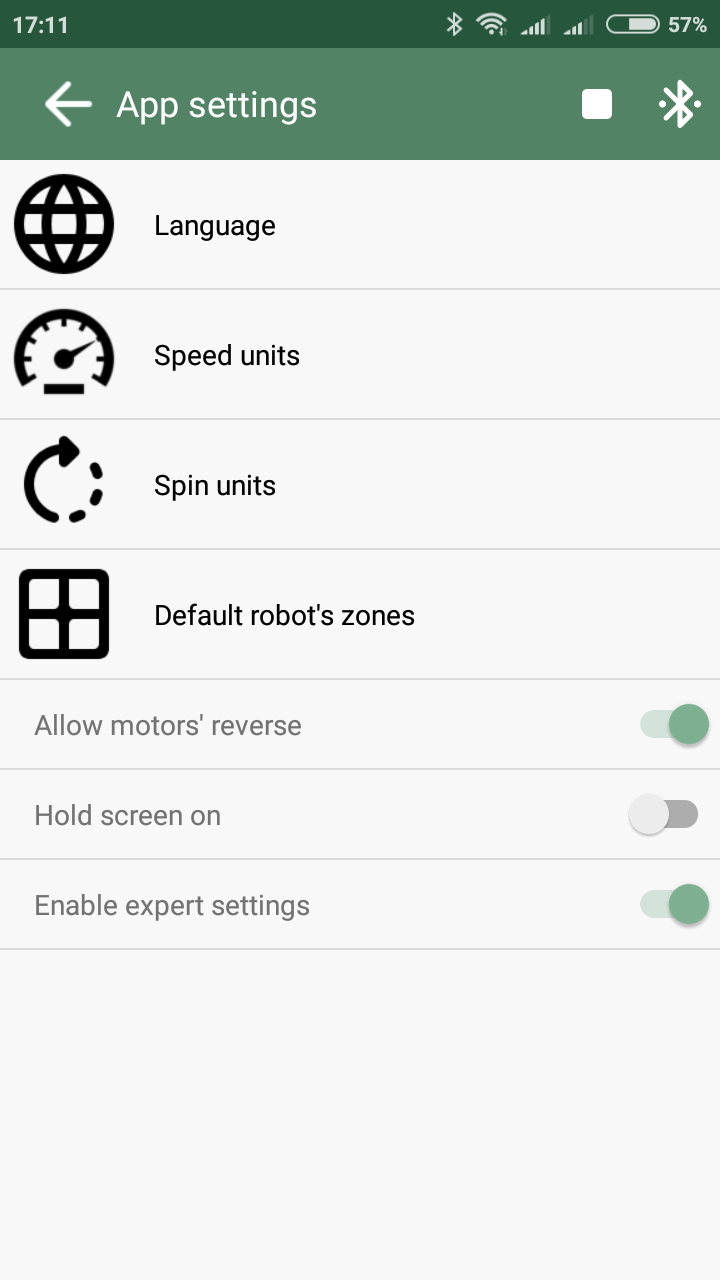
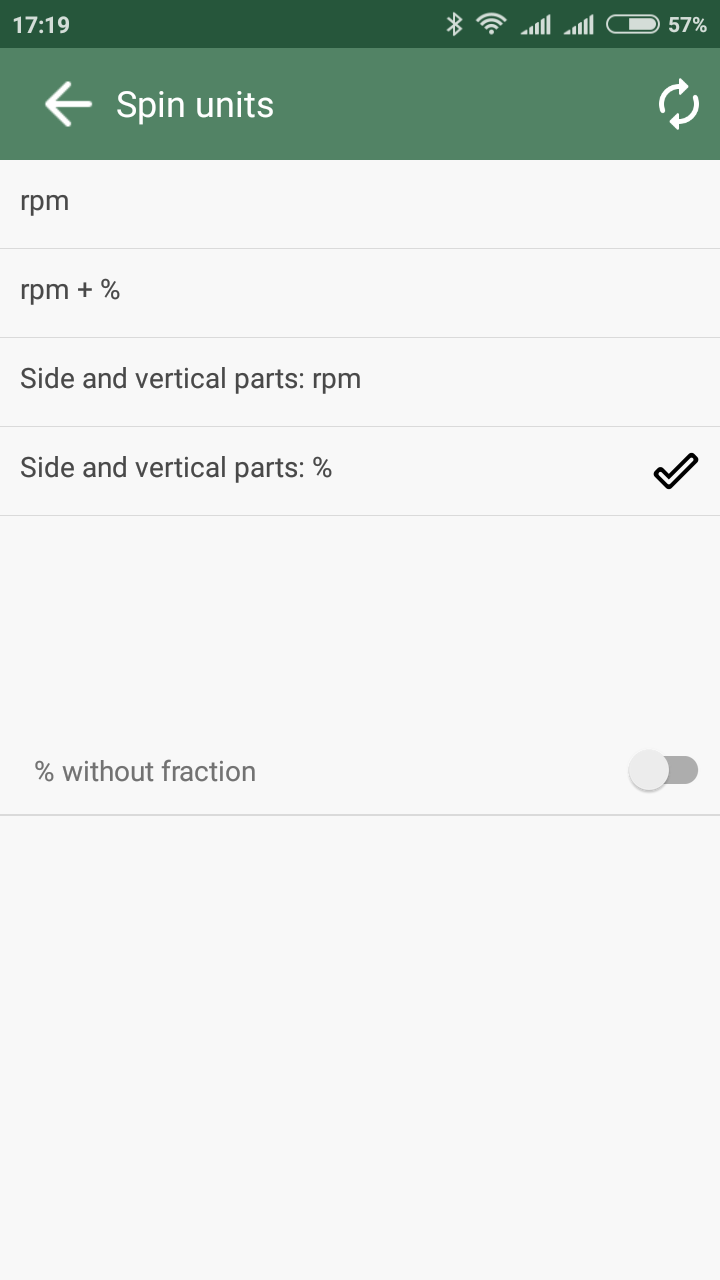
New separate “Spin units”
“Thank you” to Nathalie from Germany for this idea (she is a coach and sometimes uses Tennirobo with her students). For some cases, it might be useful to see not only the spin value in RPM, but it would be better to see both the side and vertical components of the spin.
This app update introduces new spin unit settings, as you can see in the photos below.
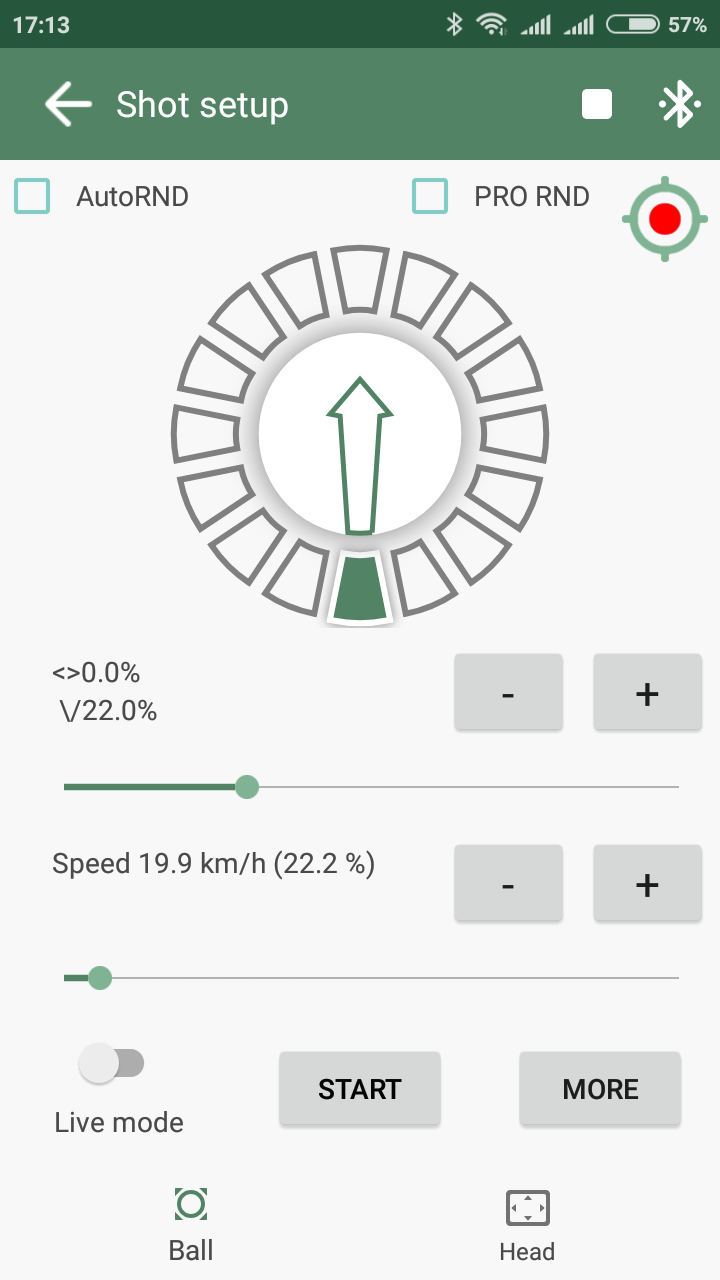
As a result, the app automatically calculates side spin, vertical spin, and shows its direction by symbols:
- “\/” (bottom spin)
- “/\” (top spin),
- “<-” (left side spin)
- “->” (right side spin)
- “<>” (no side spin)
- “|” (no vertical spin)
P.S. I will continue working on new features. The next update is going to focus on the Drills section.